
Last updated November 15, 2026
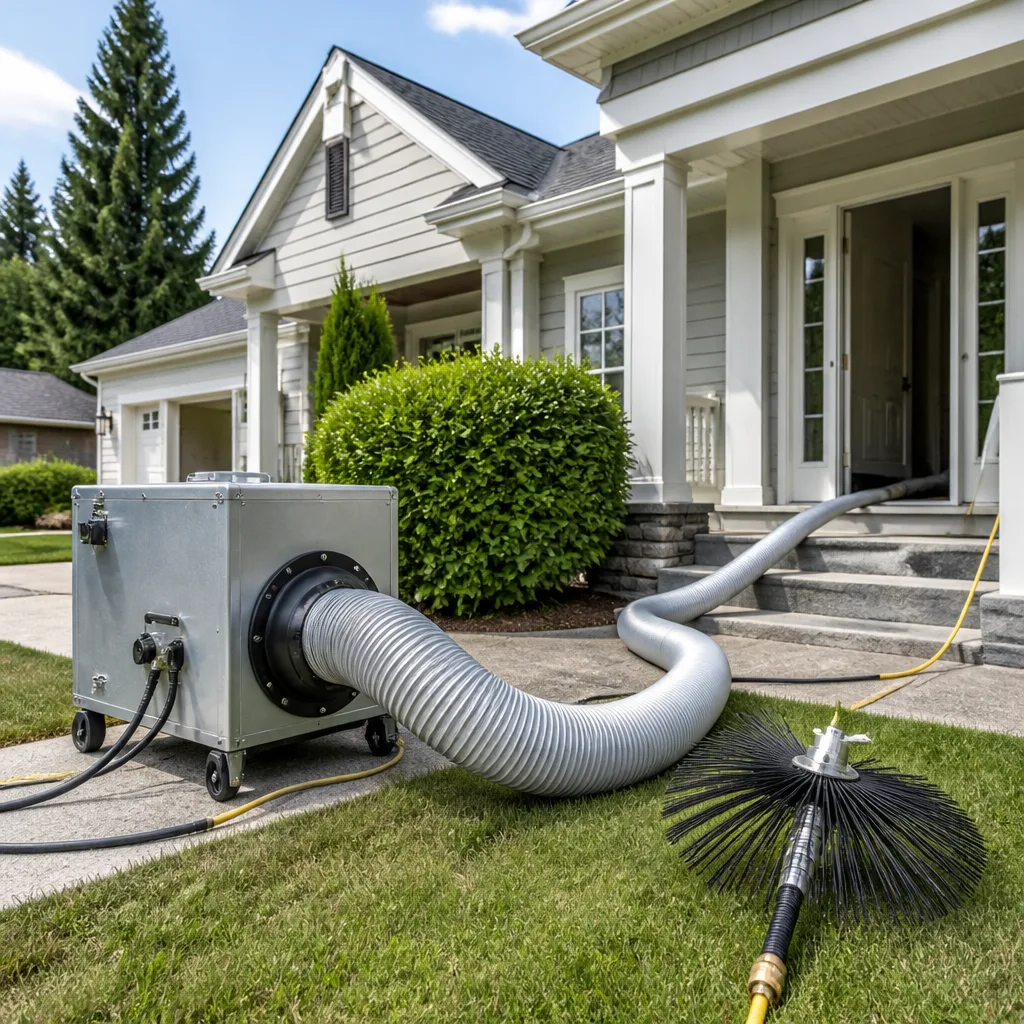 Whole-home duct cleaning
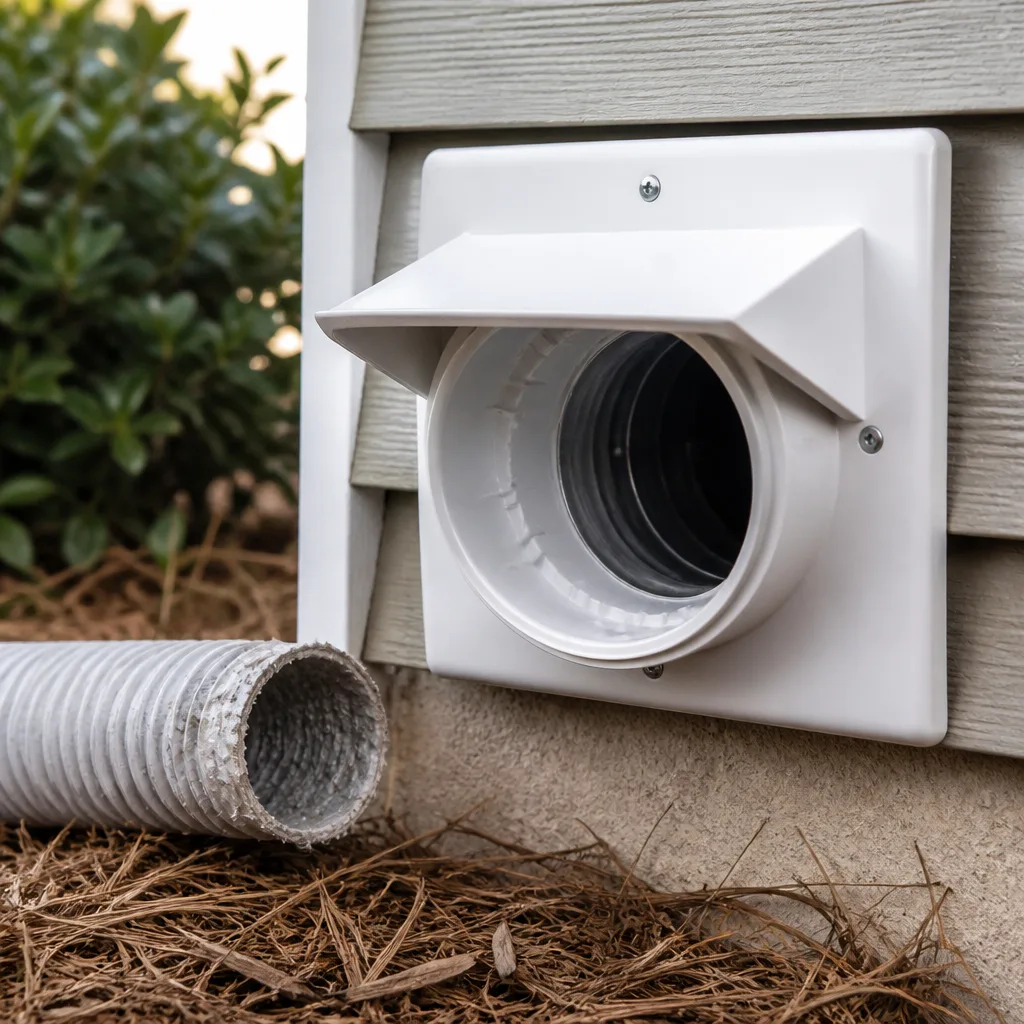 Dryer vent cleaning
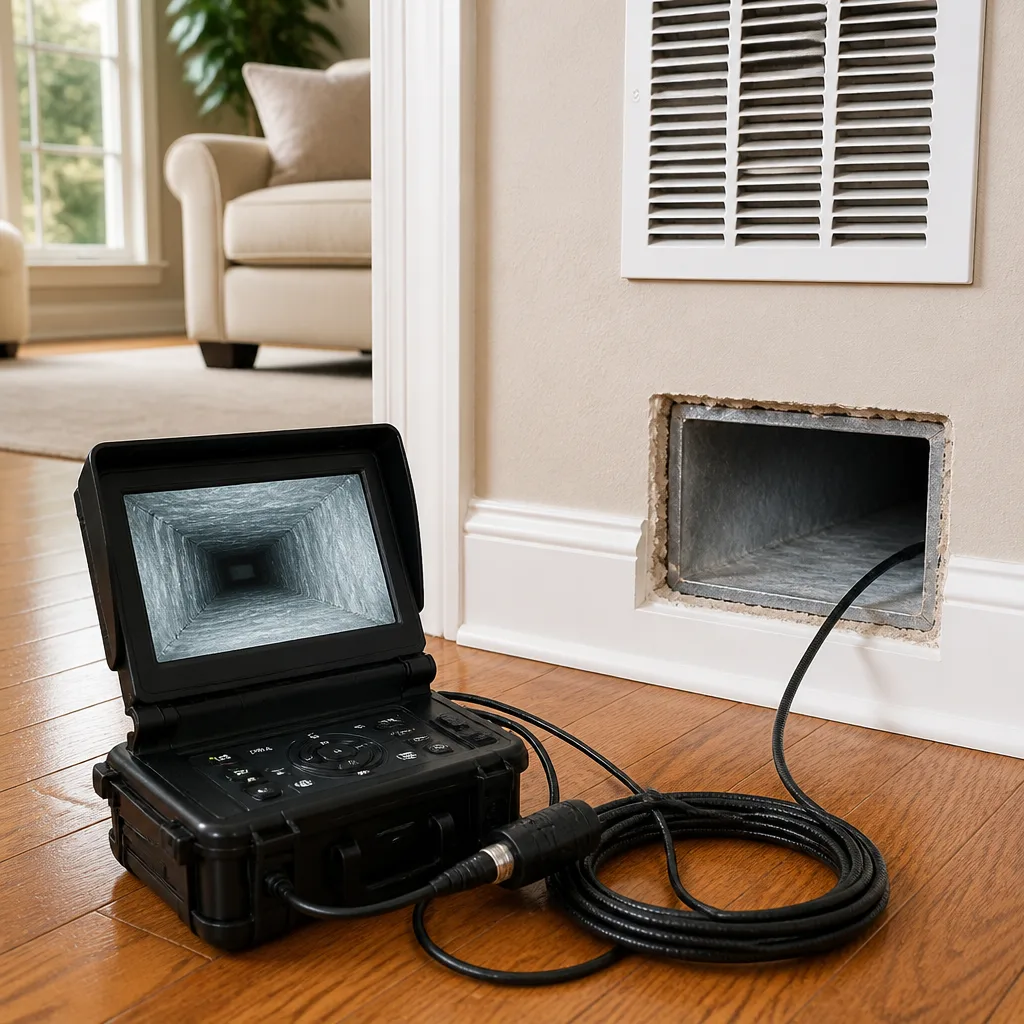 Camera inspection
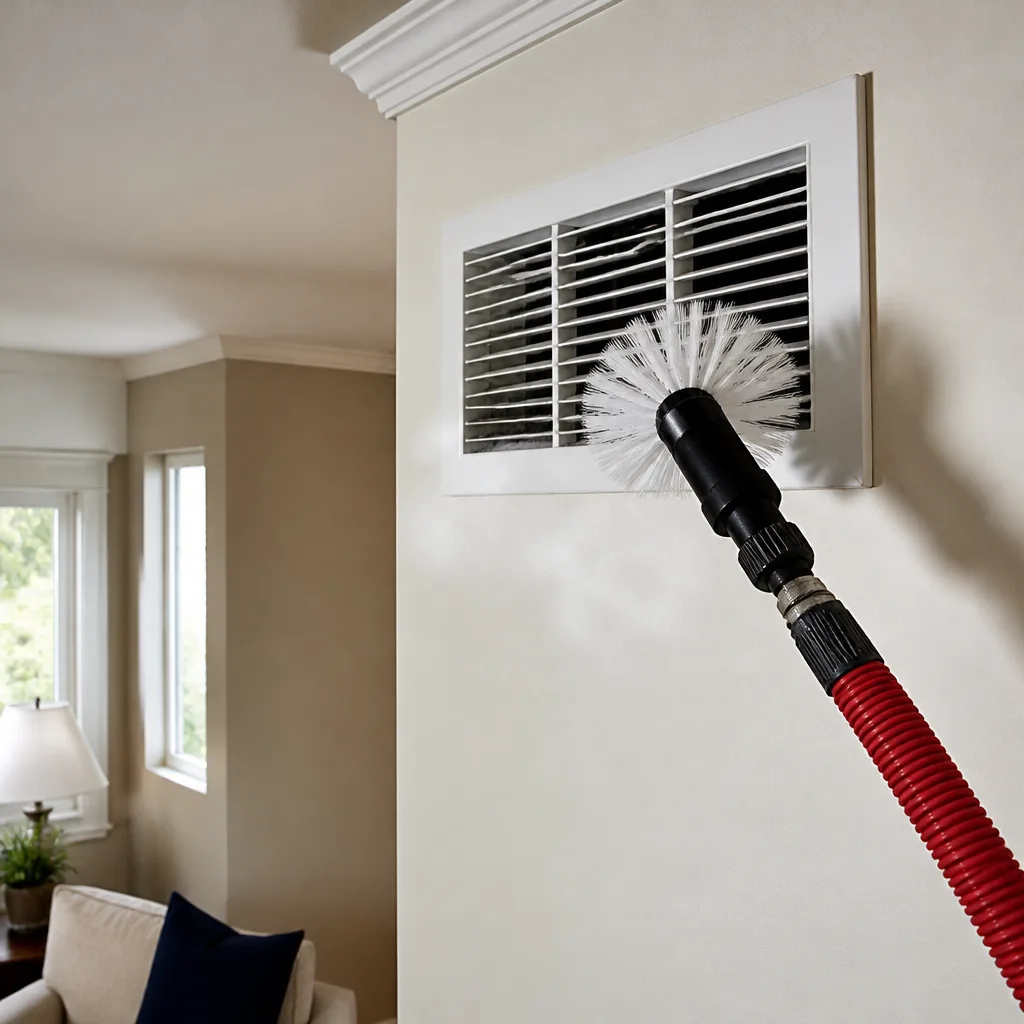 Sanitizing & deodorizing
Whole-system duct and dryer vent check with before-and-after photos - you see exactly what came out of your vents
That "$99 whole-house special" is a bait ad - the real number appears once they are in your hallway, or the "clean" is a shop-vac at the register. We photograph the inside of your ducts before and after instead.
Air Duct Cleaning Maintenance Checklist for St. Louis Homeowners
If your filter slot has an air gap around it, a professional duct cleaning will undo itself within months. That’s the uncomfortable part of this work that most checklists skip. They start at the duct system and end at the duct system, as if the ducts exist in a vacuum instead of inside a house where every return grille, filter frame and flex connection affects what flows through them. We’ve watched good cleanings get wasted because a filter was the wrong size or a return chase was pulling attic air into the supply side. This guide is the checklist we’d hand a St. Louis homeowner who wants the work to hold, covering what to check before the truck arrives, what to inspect after, and what to log so the next decision isn’t a guess.
Quick Answer
A duct cleaning maintenance checklist for a St. Louis home has five core steps: verify filter fit and MERV rating before any cleaning, inspect accessible duct connections and return air gaps for leaks, confirm indoor relative humidity stays in the 30-50% range, prep the house before the technician arrives, and log filter changes, cleaning dates and any repairs in one place. Most St. Louis homes need a professional cleaning roughly every three to five years, but that interval shortens to about two years if you’ve had a renovation, pets, water intrusion or chronic filter bypass.
Styles & brands we work with
- Whole-home duct cleaning
- Dryer vent cleaning
- Camera inspection
- Sanitizing & deodorizing
Table of Contents
- Why a Duct Cleaning Is Only One Link in the Chain
- Step 1: The Pre-Cleaning Prep That Actually Matters
- Step 2: Filter Fit and MERV Rating for St. Louis Air
- Step 3: Inspecting Duct Connections, Flex Sags and Return Air Gaps
- Step 4: Humidity Checkpoints and What They Signal
- Step 5: Recordkeeping That Outlasts the Crew
- How Often Should You Schedule Duct Cleaning in St. Louis?
- Common Mistakes to Avoid
- When to Call a Professional
Why a Duct Cleaning Is Only One Link in the Chain
When someone searches for air duct cleaning in St. Louis, they usually have one problem in mind: the air feels gritty, someone in the house is sneezing more than usual, or a recent renovation left visible dust everywhere. That’s a fair starting point. The problem is treating the cleaning as a standalone event. Duct cleaning is one node in a maintenance chain, and if the links before and after it are broken, the cleaning gets reversed faster than it should.
Here’s what that chain looks like in practice. Before cleaning: the filter is correctly sized, the return grilles are drawing from clean space, and the accessible connections are tight. During cleaning: the technician uses HEPA containment and extraction equipment that pulls material out rather than pushing it around, which is why we run Abatement Technologies containment gear and Rotobrush and Nikro extraction systems rather than a blower with a hose. After cleaning: the humidity stays in a healthy band, the filter gets changed on schedule, and any compromised duct sections are repaired rather than left to leak.
Break any one of those links and you’re back where you started. A cleaning with a filter that doesn’t seat properly means dust physically bypasses the filter and coats the supply side within a single season. A cleaning followed by six months of indoor humidity above 60% means the conditions that support biological growth in ductwork haven’t changed, even though the ducts are cleaner. A cleaning that ignores a disconnected flex run in the basement or a sagging trunk line in an attic means the ducts stay clean but the house gets dusty anyway because unfiltered air is entering downstream of the filter.
St. Louis makes this chain matter more than a lot of markets because the seasonal load here is genuinely heavy. Spring pollen in the metro runs long, and the summer humidity across the region is high enough that any moisture source in the mechanicals has time to compound. Fall brings leaf debris and the first heating cycle, which lifts whatever settled in the ducts over the summer. Winter is dry and the heating system runs constantly, pulling air through the same paths. Three or four seasonal shifts a year means the maintenance chain gets tested four times a year, not once.
So the checklist below isn’t a list of things to do before your next cleaning. It’s a set of recurring checkpoints, some done once a year, some done twice, some done every time the filter gets changed. Read it that way and the guide makes more sense.
Step 1: The Pre-Cleaning Prep That Actually Matters
A surprising amount of the cleaning outcome is set before the technician ever opens the access panel. Pre-cleaning prep is not busywork; it’s the difference between extraction that pulls material cleanly out of every branch run and extraction that fights through furniture, clogs and obstructions. Removing furniture and clearing access takes the homeowner fifteen or twenty minutes. Not doing it can cost the job its effectiveness.
- Clear three feet of space around every return and supply grille. Technicians need to reach the grilles with equipment and hoses. Furniture pushed against a return damps airflow and forces awkward angles that reduce suction.
- Remove small items from shelves near registers. Shelving directly below a supply register catches dust when the system kicks on during the cleaning. Move books, framed photos and fragile decor to another room for the day.
- Turn off the HVAC system before the crew arrives. The system should be off, not just idle. Running the blower during the setup phase sends air the wrong way through the ductwork while the technician is working out the layout.
- Take down ceiling fans and clean any visible dust load on grilles yourself. Grille-face dust is on the outside of the system. If it’s thick, cleaning it first means less material gets pushed back into the room during extraction.
- Confirm pets are secured in a separate room. Cats in particular get unsettled by the sound of professional extraction, and pets underfoot slow down access to floor-level returns.
- Point out any duct repairs you already know about. If a previous contractor patched a flex run in the basement or sealed a joint in the attic, say so before the technician finds it. That context tells them where to inspect more carefully.
- Have your filter model and last change date ready. It’s information the technician needs for the post-cleaning recommendation, and it saves a phone call later.
One more piece of prep that’s often skipped: know what kind of access your home actually has. A St. Louis house with a full basement and a walk-up attic has a very different access profile than a slab-on-grade ranch with a crawl space and a low attic. If you’re in a neighborhood like Tower Grove or the Central West End, older homes often have finished basements that hide trunk lines and flex runs behind drywall. If you’re in a newer subdivision further out, the ductwork tends to be accessible but tightly run through soffits. Either way, knowing where the trunk lines and main returns are saves diagnostic time.
Step 2: Filter Fit and MERV Rating for St. Louis Air
Filter selection is the single highest-leverage maintenance decision in the chain, and almost nobody treats it that way. A professional-grade duct cleaning pulls years of accumulated particulate out of the system. If the filter that goes back in after the cleaning is undersized by an eighth of an inch, or rated too low for the particulates in the air, or so restrictive that it forces bypass around its own frame, the cleaning gets substantially reversed within a season.
Fit beats rating
The right filter fit matters more than the number on the box. An air gap between the filter edge and the filter frame is a bypass channel, and air always takes the path of least resistance. A filter with a clean MERV 13 rating and a visible gap on two sides is doing less than a snug MERV 8 filter. When you change the filter, run a finger around the perimeter. If you can move air past the filter with a light pass of your hand on the upstream side, it’s bypassing. Some frames can be sealed with a strip of filter gasket tape; in other installations the frame itself needs adjustment.
MERV rating selection for St. Louis
MERV is a rating scale for how efficiently a filter captures particles at a given size. Higher MERV means smaller particles captured, but also more airflow restriction, which matters more than most homeowners realize. Here’s how we think about the choice in this market:
- MERV 8: A reasonable baseline for most St. Louis homes. Captures the majority of pollen, mold spores and larger dust, with low pressure drop. The right choice if your HVAC system isn’t designed for a high-pressure-drop filter.
- MERV 11: A middle ground that handles finer particulate, useful if someone in the home is sensitive to spring pollen or if you’ve had a recent renovation. Slightly more restriction, but most residential blowers tolerate it fine.
- MERV 13: Best for fine particulate and typically the highest rating a residential blower handles without losing meaningful airflow. Useful in this market during heavy pollen weeks and in homes near highway corridors or active construction. Not the right call if your system is already undersized.
- Above MERV 13: Almost always too restrictive for residential equipment without a purpose-built filter cabinet. Don’t go there unless an HVAC professional has sized the system for it.
Spring pollen in St. Louis runs heavy and long, and fall leaf debris adds another wave of particulate. If you switch filter ratings seasonally, pollen season is when to move up a step and the shoulder weeks are when to step back down. Keep the same physical filter dimensions between seasonal changes so you’re not fighting the frame every time.
Change interval
Standard 1-inch filters in St. Louis homes typically want changing every 60-90 days. During heavy pollen, shorten that to 30-45 days. Media filters (4-5 inch) commonly run 6-12 months. If you can’t remember when you last changed it, that’s the answer. Write the date on the filter edge with a marker; it takes five seconds and it saves the guessing.
Step 3: Inspecting Duct Connections, Flex Sags and Return Air Gaps
The ducts themselves get inspected during a cleaning. What gets missed is everything the cleaning exposes. Duct connections, flex runs and return chases are the three places where debris most commonly reenters the system after a cleaning. Walking through a home after a professional cleaning and checking these three things is the highest-return maintenance step there is.
Accessible duct connections
Where duct sections join, there’s always a potential leak. In older St. Louis housing stock, duct joints are often taped, mastic-sealed or friction-fit. Tape dries out, mastic cracks, and friction-fit joints loosen as the system cycles seasonally. Run a hand along accessible joints while the system is running; a leak will feel like a slight pull of air or a puff of dust coming from the seam. Visible dust trails at a joint are leaks.
Flex duct sags
Flexible duct in attics and crawl spaces is where the biggest problems hide. Sagging runs collect debris at the low point and create turbulence that defeats extraction. A flex run that’s sagged more than a few inches between supports is holding material. So is flex with a sharp bend or a kinked inner liner. In a St. Louis attic, summer heat accelerates the deterioration of the flex liner itself, and by the time the outer jacket looks fine, the inner liner can be flaking. If a flex run in an attic or crawl space looks collapsed or sagged, it’s a repair, not a cleaning problem.
Return air gaps
This is the one we see ignored most often. Return air is drawn back into the system from the living space, but a panned return chase in a basement or a return plenum in an attic can pull from spaces that shouldn’t be feeding the system. A panned return under a floor joist that has pulled loose from its panning material is drawing basement or crawl space air. A return chase behind drywall that has a gap at a mechanical penetration is drawing wall cavity air. Both feed particulates back into the ducts downstream of the filter, which means the filter never sees them.
A simple test: while the system is running, hold a tissue near the edges of your return plenum, panned returns and any mechanical penetrations into the return side. If the tissue flutters toward the seam, air is being drawn in there. A gap of any size is worth having sealed by someone who does duct repair, not by a handyman with foil tape.
What to do when inspection finds something
Keep a running list. Not every finding needs an immediate fix, but every finding needs to be on the same list so a future technician sees the full picture. A disconnected flex run and a sagged flex run in the same attic should be repaired together, not in two separate visits. When we clean a St. Louis home and find compromised ductwork during the cleaning, our technicians can diagnose and repair it on the same visit rather than leaving the homeowner to find a second contractor. That’s part of why we keep duct repair as a core service rather than an add-on.
Step 4: Humidity Checkpoints and What They Signal
Ductwork is an air conduit, but it’s also a surface. Every surface inside that conduit sits in equilibrium with the air flowing past it. When indoor humidity stays in a healthy range, the interior duct surface stays dry and unfriendly to biological growth. When it climbs, the ducts themselves become one of the surfaces where conditions start to favor problems. Humidity isn’t a separate topic from duct maintenance; it’s one of the maintenance checkpoints.
The target range
Indoor relative humidity in the 30-50% range is the healthy band for most homes in this climate. Below 30% is dry enough to cause comfort complaints and static shocks in winter. Above 50% is where you want to pay attention. Above 60% sustained is where conditions start to favor biological growth on cool surfaces, including duct interiors, and that’s the level where a duct cleaning becomes less effective because the conditions that support the problem haven’t been addressed.
When to measure
Measure indoor relative humidity at least seasonally. Late spring and summer are the highest-value checkpoints in St. Louis because the outdoor dew point runs high and the air conditioning system is running constantly. A system that’s cooling effectively but not dehumidifying is a system with an oversized capacity or a control issue. In the winter, heating-driven dryness is normal, but a sudden spike in humidity in winter usually means a moisture source (a leak, a humidifier running too high, or a basement that’s staying damp).
What a high reading says about the chain
Indoor humidity consistently above 60% is a signal to look for the source before spending money on another cleaning. Common sources in St. Louis homes include a crawl space without a vapor barrier, a basement that takes on water seasonally, a bath fan venting into an attic instead of outside, and a humidifier set too high. A duct cleaning performed while one of those sources is active won’t change the humidity conditions that made the cleaning necessary. Get the reading, find the source, correct it, then clean.
For homes with whole-home humidity controls, the equipment matters. We work with Honeywell and Aprilaire systems, which are the two most recognized names in whole-home air quality and the two we’re authorized to service and recommend. Understanding how a humidity control is set and what it’s actually controlling for is a maintenance step that outlasts any single cleaning.
A one-page log
Log the reading. Seasonal readings over two or three years tell you whether your home has a chronic humidity problem or an occasional spike. A future contractor reading that log has real data instead of a homeowner’s general sense that “it feels humid in here.”
Step 5: Recordkeeping That Outlasts the Crew
The last step in the checklist is the one that changes how future maintenance decisions get made. Most homeowners can’t tell you when their last duct cleaning was, which company did it, what they found, or what got repaired. That means every new contractor is starting from zero, and every future decision is a guess. Keeping a simple log changes that in about ten minutes a year.
What to log after each cleaning
- Date of cleaning and company name. The basics. Written on a note in a maintenance folder, or photographed and stored on a phone.
- Number and location of access points opened. Tells a future contractor where the system was opened and whether every branch run was actually reached.
- Filter type and size in use at the time. Dimensions and MERV rating. Tells you whether you’ve changed filter strategy since.
- Findings from the technician. Deteriorated flex, disconnected runs, return air gaps, visible moisture, pest activity. What they found is what to inspect again.
- Repairs performed. What got sealed, replaced or reinforced. Also note what was recommended but deferred.
- Before-and-after photo references. If the company provided photos, note where they’re stored. Photos are how a future contractor sees actual contamination history instead of guessing from what’s visible now.
- Any product applied. If a product like Guardsman or a similar treatment was used, log it. Product history matters if you ever deal with sensitivity complaints.
- Indoor humidity reading on the day of service. One number, logged once. Builds a picture.
Why photos matter more than you’d think
Duct interiors aren’t visible from a room, which makes this category of service unusually susceptible to guessing. A homeowner signing off on a cleaning with no photos is trusting the technician’s word about what got pulled out. Before-and-after photos turn that into a record. When Bellmont cleans a St. Louis home, the before-and-after photos of the customer’s own ducts are part of what makes the work verifiable. Not generic stock photos of ductwork; actual photos of the actual system.
One place, not five
The log should live in one place, physically or digitally, that any future homeowner or contractor can find. We’ve seen homes where the maintenance record is spread across three email accounts, two paper folders and a text thread. It doesn’t survive a sale, and it doesn’t survive a phone change. A single manila folder labeled “HVAC and ducts” sitting near the furnace is enough. So is one photo album on your phone.
How Often Should You Schedule Duct Cleaning in St. Louis?
For most St. Louis homes, a professional cleaning every three to five years keeps the duct system in reasonable condition, assuming the maintenance chain above is intact. That interval is a general guide, not a rule. The variables that push it shorter or longer matter more than any single number.
Push toward every two years
- Recent renovation or new construction nearby (dust settles through the whole system within weeks)
- Pets in the home, especially multiple long-haired animals
- Ongoing allergy or respiratory sensitivity in someone who lives there
- Prior water intrusion, plumbing leak or basement flooding that affected the mechanical area
- Scheduled filter changes getting missed regularly, or a filter fit that bypasses
- Humidity controls that stay out of range
- A previous cleaning with no photo record and no clear evidence of what was actually done
Push toward every five to seven years
- No pets, no smokers, no recent renovations
- Filters changed on schedule with a snug fit
- Humidity controls in the 30-50% band consistently
- Accessible ductwork visually intact, no flex sags, no return air gaps found in inspection
- No allergen or comfort complaints
Dryer vent cleaning is its own schedule
Duct cleaning and dryer vent cleaning are separate services with separate intervals. Dryer vent cleaning addresses a leading cause of residential house fires rather than an indoor-air-quality concern, and most homes should have it done annually. If your dryer cycle is taking longer than it used to, the vent is the first thing to check. Don’t fold the two services into one schedule just because they’re both duct-related; a dryer vent that’s left another year while the air ducts are fine is a real risk.
New HVAC installation
If you’ve just had a new HVAC system installed, the ducts should be inspected before the new system starts running in earnest. A new system moving air through a duct network with years of accumulated debris is a mismatch; the equipment is designed for airflow that the ducts may be restricting. Many installers will note this. If yours didn’t, it’s worth a conversation.
Common Mistakes to Avoid
- Choosing a cleaning on the lowest price without any photo record. The industry has a real problem with teaser pricing that grows on-site. A cleaning that includes before-and-after photos of your own ducts, at one agreed flat price per system, is verifiable. A cleaning that doesn’t isn’t, regardless of the initial price.
- Continuing to use a filter that bypasses its own frame. We’ve seen fine filters do nothing because the fit was off by a quarter inch. Test the fit every time you change the filter, not just the first time.
- Ignoring return air gaps because they’re hard to reach. A panned return in the basement or a plenum gap in the attic pulls unfiltered air into the system every minute the HVAC runs. The cleaning is short-lived if those gaps stay open.
- Letting flex duct sag through a St. Louis attic summer without checking it. Attic heat in this climate is hard on flex liners. A run that looks fine from the top can have a flaking inner surface by fall.
- Treating the humidity reading as an afterthought. Biological growth in ductwork isn’t a cleaning problem; it’s a conditions problem. If the humidity stays above 60%, no amount of cleaning changes the root cause.
- Skipping the pre-cleaning prep on the theory that the technician will handle it. A crew that has to move furniture is a crew spending time on furniture instead of ductwork. Fifteen minutes of prep is fifteen minutes of better cleaning.
- Not writing anything down after the service. A home with duct records is a home where the next decision is easy. A home without records starts every conversation with “we don’t really know.”
When to Call a Professional
Some of this checklist is homeowner work: filter changes, humidity readings, inspecting accessible ducts, keeping the log. The rest calls for a professional. Visible dust discharging from supply registers after a filter change, an HVAC system that’s pushing weak airflow from some rooms and strong from others, a sanitation concern after a renovation or water event, and any flex duct that’s sagged, kinked or disconnected all warrant a trained eye. Professional extraction equipment pulls material out of branch runs that a homeowner can’t reach with any tool, and proper HEPA containment protects the rest of the house during the process. If you’ve never had the ducts cleaned and don’t know the home’s duct history, the first visit is where a real maintenance baseline gets established.
Bellmont Air Duct Cleaning offers free estimates in St. Louis and works on the Bellmont Air Duct Cleaning scope of cleaning, dryer vent cleaning and duct repair as a focused three-service menu rather than a general home-services offering. Call (877) 349-6189. We answer 24/7. Fast dispatch from 7am to 7pm, Sunday through Friday.
See the difference
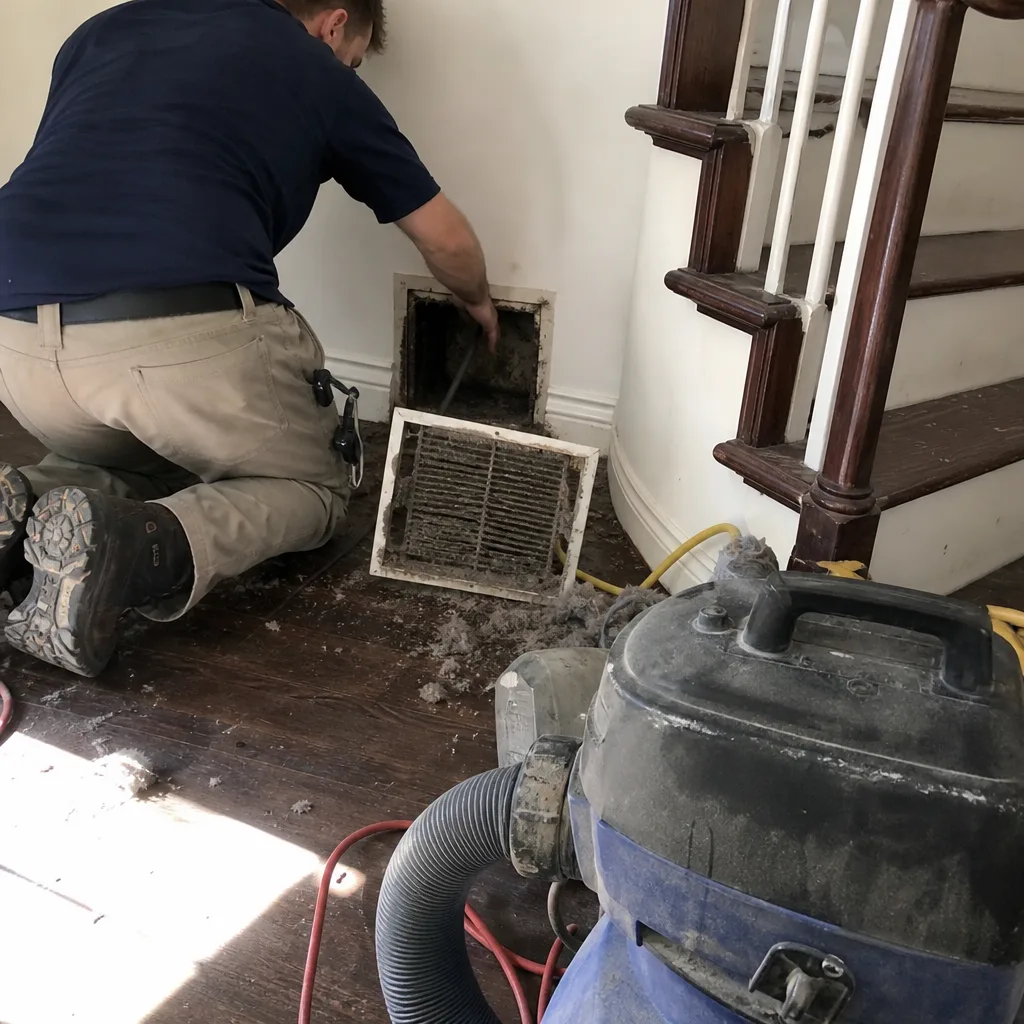 Before
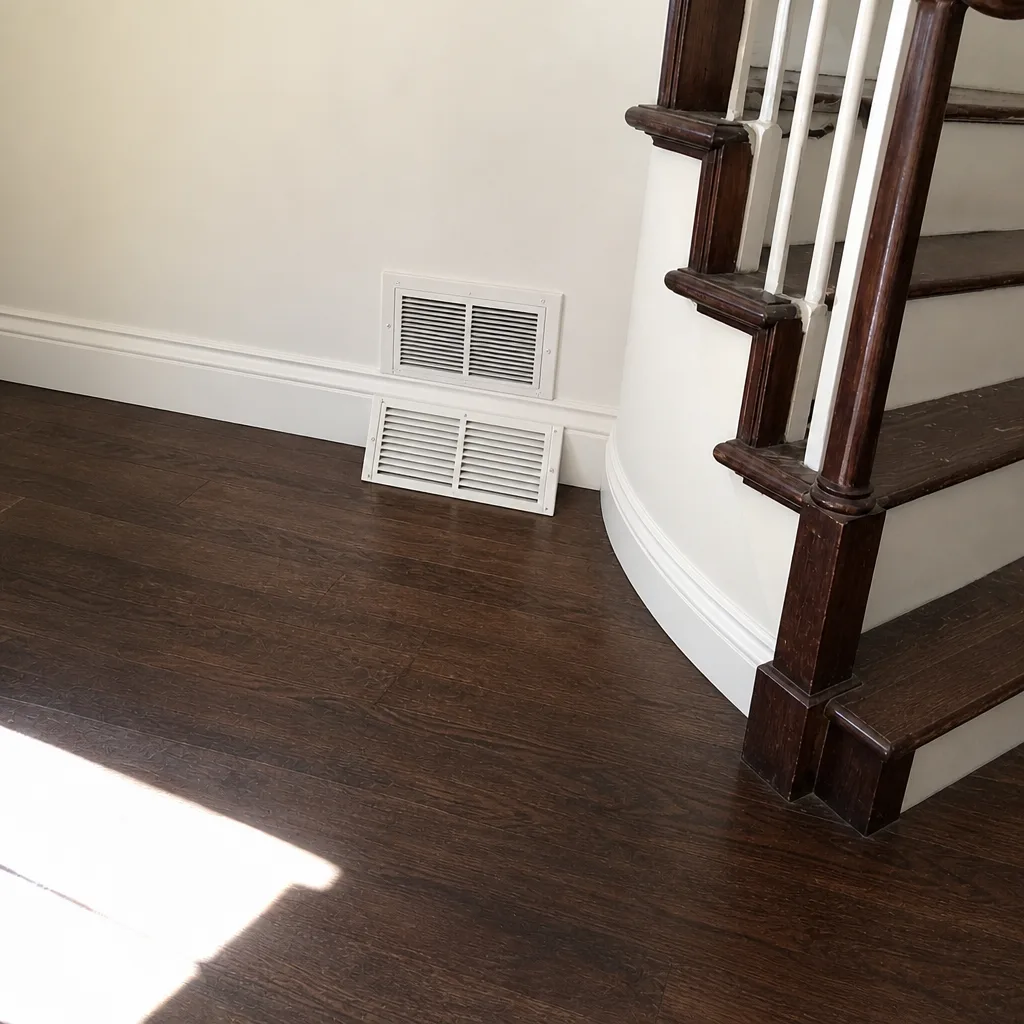 After
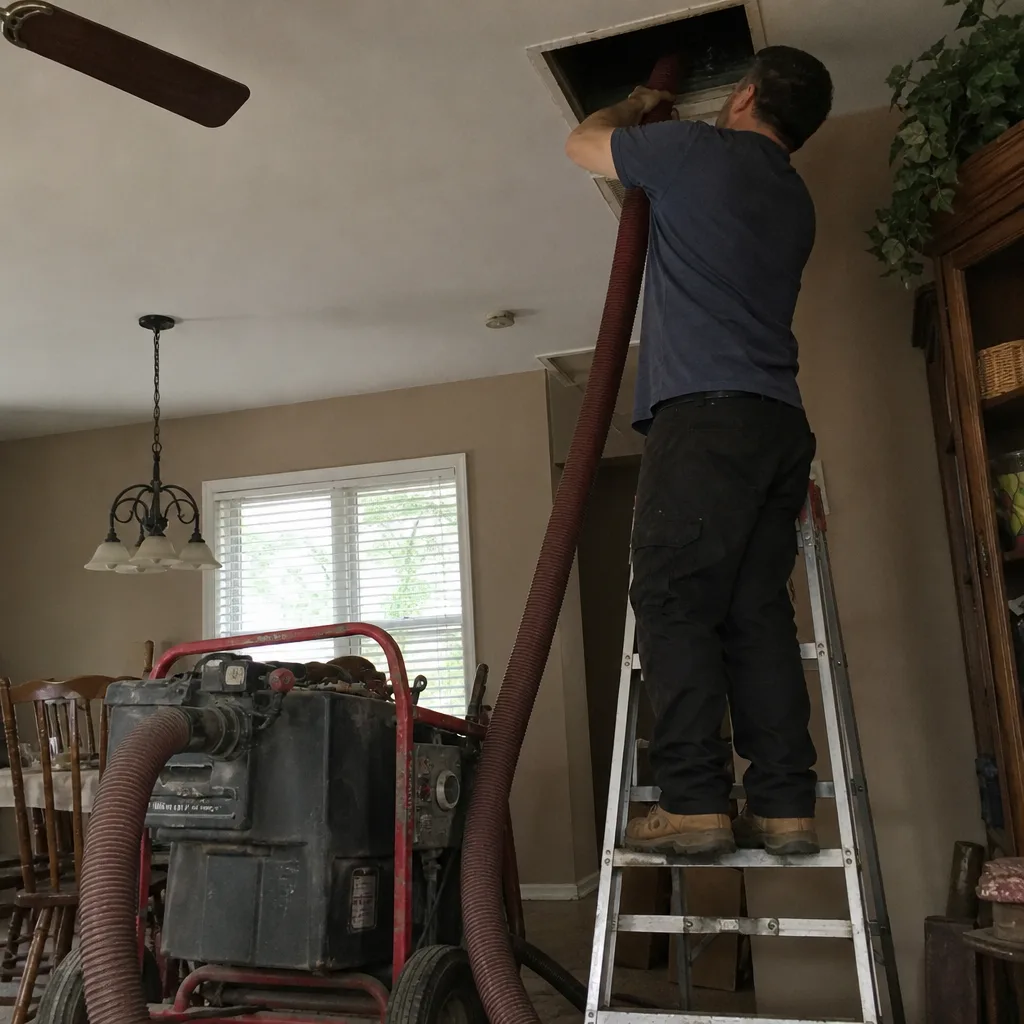 Before
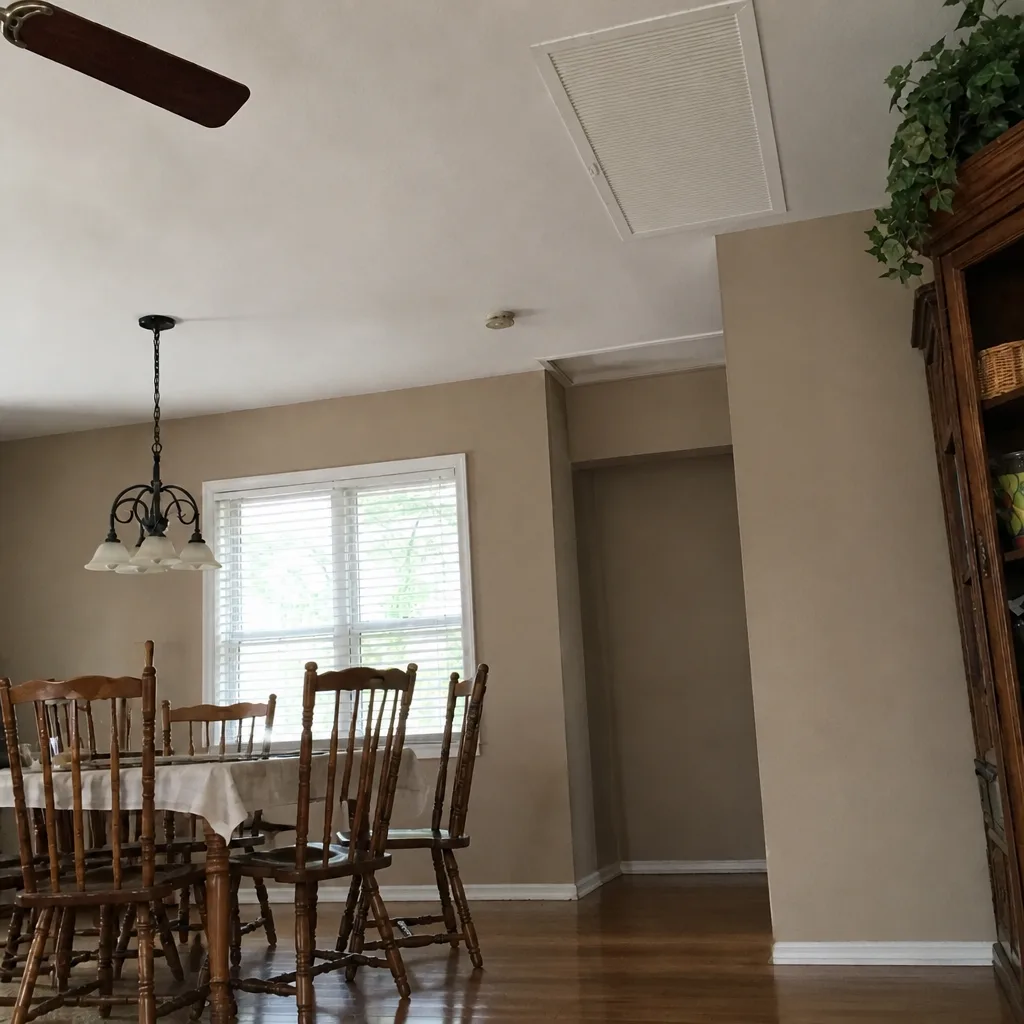 After
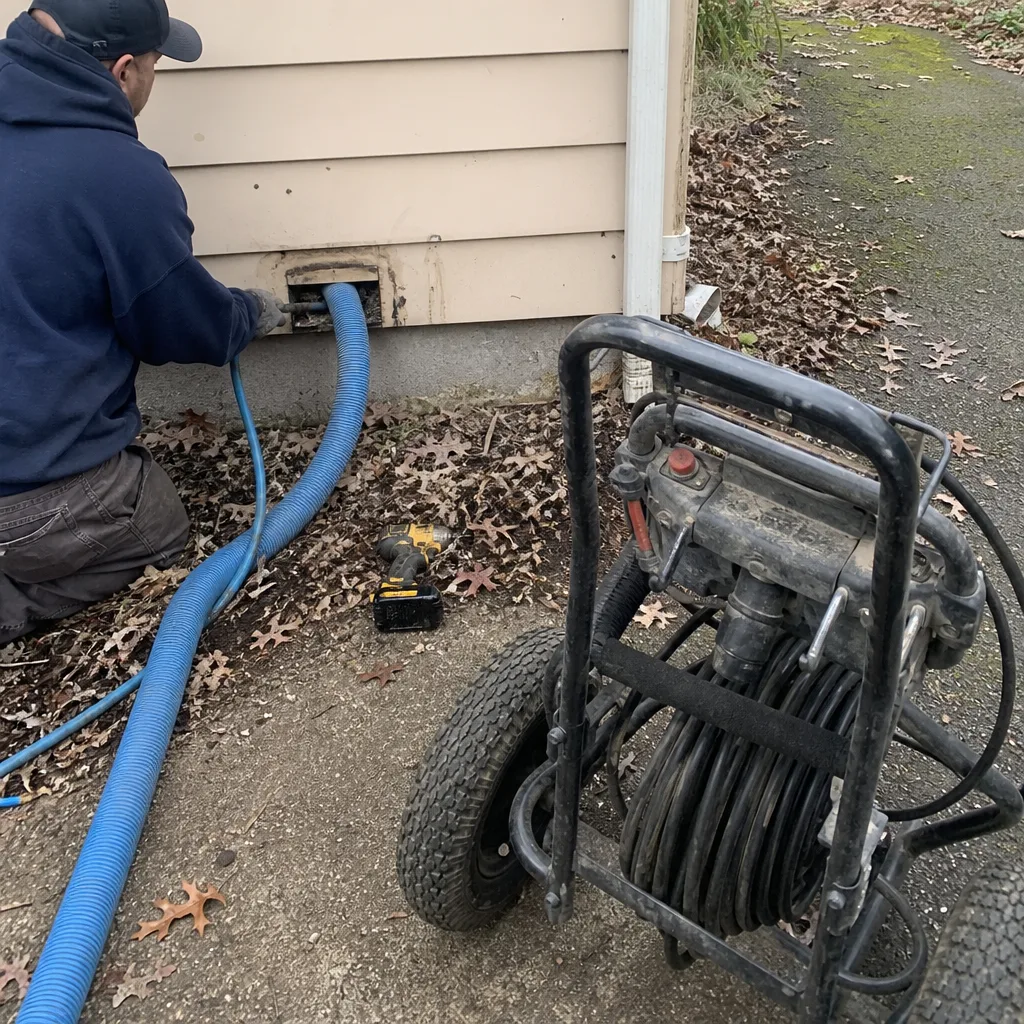 Before
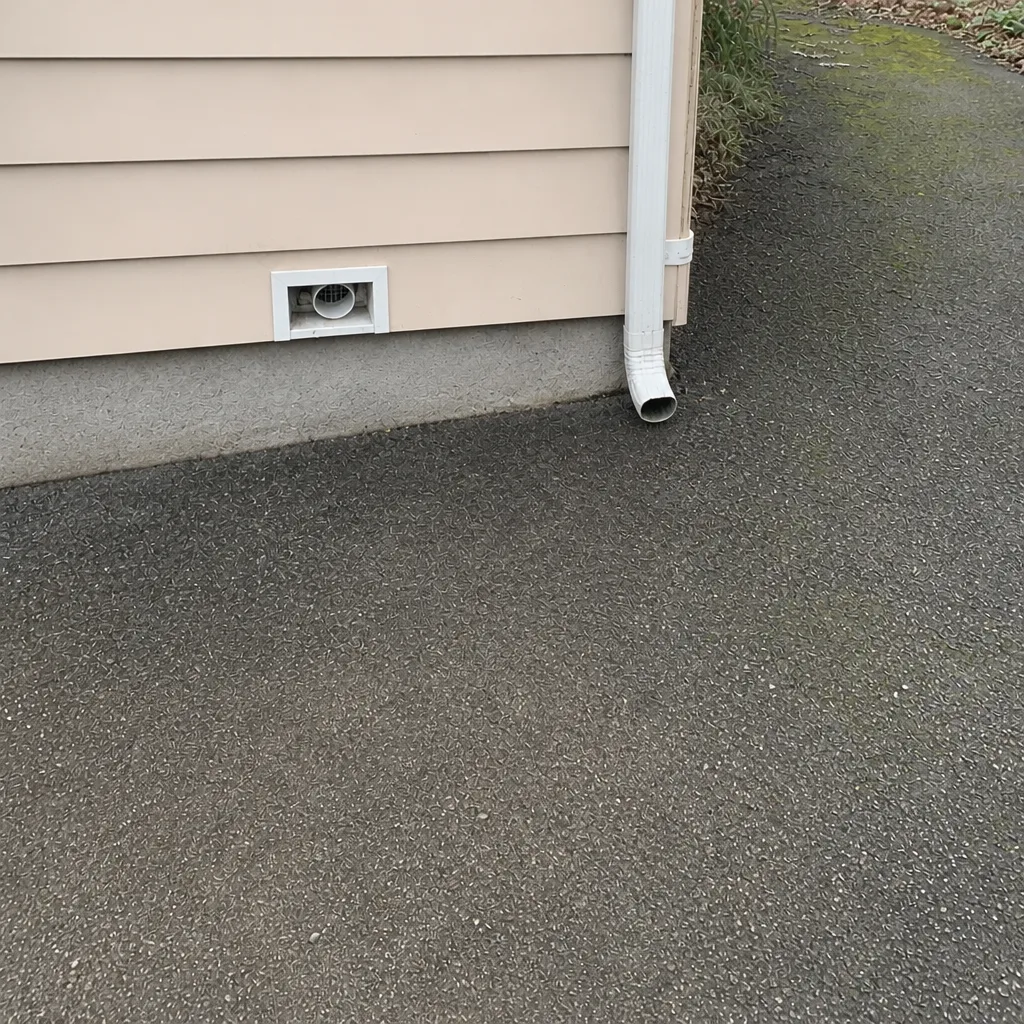 After
Frequently Asked Questions
Air duct cleaning for a typical St. Louis home is priced as one flat price per system, agreed before any work starts, rather than per vent or per hour. The written estimate sets the final price; there are no teaser coupons, no per-vent billing and no on-site price changes once the work is underway. Call (877) 349-6189 for an exact quote on your system, or use the free estimate request and a technician will assess the layout and access points first.
Most St. Louis homes need a professional duct cleaning every three to five years, assuming the filter, humidity and duct-repair checkpoints in this guide are all in place. That interval shortens to roughly two years if you’ve had a renovation, pets, water intrusion or a filter fit that bypasses. It stretches longer for homes with none of those conditions. The maintenance chain matters more than the calendar; a home with a snug filter and a sealed return system holds a cleaning much longer than a home without them. Call (877) 349-6189 for an estimate that’s based on your specific layout.
Cheap quotes usually reflect one of three things: a low teaser price that grows once the technician is on-site, equipment that blows rather than extracts, or a scope that reaches the trunk lines only and never opens the branch runs. The cost difference shows up in what’s actually pulled out of the system. Ask any company three questions before booking: is the price one flat number per system, will you provide before-and-after photos of my own ducts, and what equipment will be used. If the answers don’t hold up, the quote isn’t cheap; it’s a different scope. Call (877) 349-6189 to compare what our free estimate includes.
The three signals are before-and-after photos of your own ducts, a written record of findings and any repairs, and equipment you can identify. We run Rotobrush and Nikro extraction systems and Abatement Technologies containment equipment, all of which are professional-grade and don’t resemble consumer blowers. Any company that won’t show you photos of your own system has not given you a way to verify the work. Call (877) 349-6189 for an estimate that includes what the record after the visit will look like.
Yes. The St. Louis climate runs four meaningful seasonal shifts a year, with heavy spring pollen, high summer humidity, fall leaf debris and dry winter heating air. That’s four annual stress tests on the duct system’s filter and humidity controls rather than one. Homes near active construction, in older neighborhoods with finished basements that hide trunk lines, or on streets with heavy tree canopy tend to load faster. The maintenance chain gets tested more often here, which means it needs attention more often. Call (877) 349-6189 if you’re unsure where your home falls.
Date, company, access points opened, filter size and MERV rating, findings, repairs performed and deferred, before-and-after photo references, and the humidity reading on the day of service. That single log turns a future cleaning decision from a guess into a data-based one. It also survives a home sale, which makes the property more attractive to a buyer who cares about indoor air. Call (877) 349-6189 for a St. Louis estimate and we’ll walk you through what the log should contain.
The Bottom Line
Duct cleaning is not a one-and-done event; it’s the visible node in a maintenance chain that starts with filter fit and runs through humidity control, duct repair and recordkeeping. Skip the pre- and post-cleaning steps and the cleaning gets reversed within a couple of years rather than holding for five. The checklist above turns the whole picture into a routine: snug filter at the right MERV for St. Louis’s seasonal particulate, humidity in the 30-50% band, accessible duct connections and return air gaps inspected, and a log that captures what was actually done. A specialist who runs professional-grade Rotobrush and Nikro equipment, uses Abatement Technologies containment, and can repair the ducts on the same visit is the one who makes the maintenance chain work as a whole.
Ready to work through the checklist with a technician? Call (877) 349-6189 for a free estimate. We answer 24/7, with fast dispatch from 7am to 7pm, Sunday through Friday. One flat price per system, agreed before work starts. Before-and-after photos of your own ducts. Satisfaction guarantee.
Written by the team at Bellmont Air Duct Cleaning.